
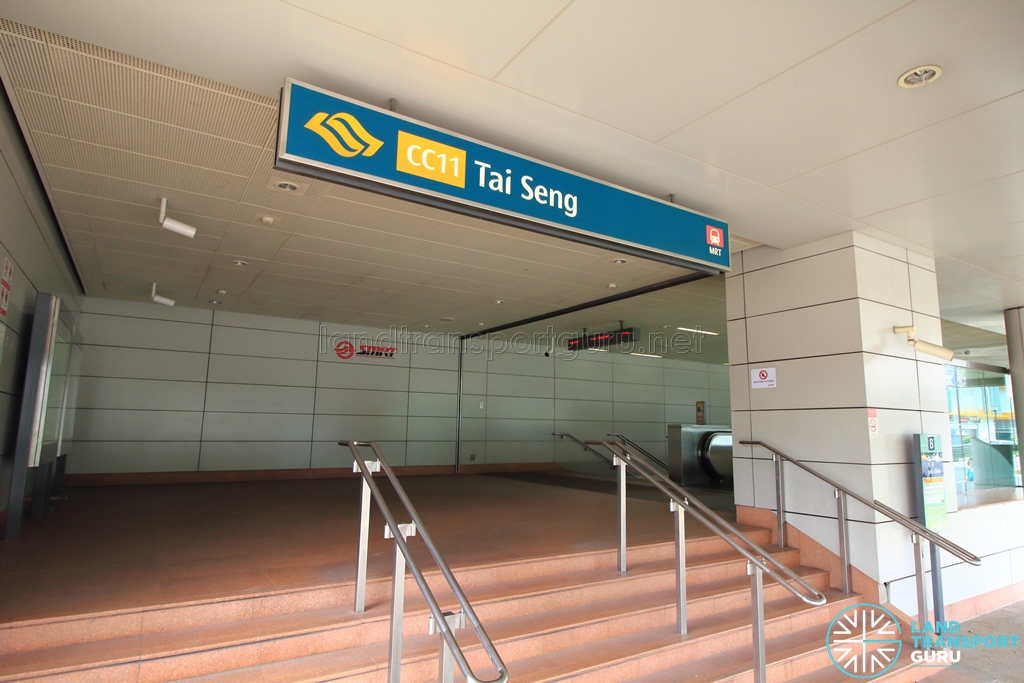
| CC11 Tai Seng 大成 | தை செங் |
|
 |
|
| Address | 33 Upper Paya Lebar Road, Singapore 534803 |
| Line Served | Circle Line |
| Operator | SMRT Trains |
| Structure | Underground |
| Platform | Island |
| Opened | 17 Apr 2010 |
Tai Seng MRT Station (CC11) is an underground station along the Circle Line (CCL). It is built underneath Upper Paya Lebar Road, near the junction of MacPherson Road and Airport Road.
The station means ‘big accomplishment’ in Chinese, which is an auspicious name for an industrial area and first appeared when Tai Seng Rubber Factory was built in the area back in 1917. The former kampung has since made way for the modern industrial estate of today, which this station serves.
First / Last Train Timings
| Circle Line – (CC11) Tai Seng |
|||
| Destination | First Train | Last Train | |
| Weekdays & Sat | Sun & Public Holidays | Daily | |
| Anticlockwise Loop | 5:38am | 6:12am | 11:07pm |
| CC26 Pasir Panjang | – | – | 11:36pm |
| CC23 one-north | – | – | 11:53pm |
| CC17 Caldecott | – | – | 12:24am |
| Clockwise Loop | 5:35am | 6:02am | 11:30pm^ |
| ^ Note: Last Clockwise Loop train ends at CC12 Bartley | |||
| CC33 Marina Bay | – | – | 11:44pm |
| CC7 Mountbatten | – | – | 12:22am |
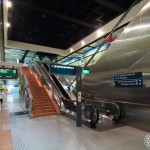
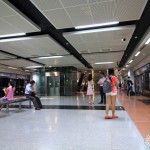
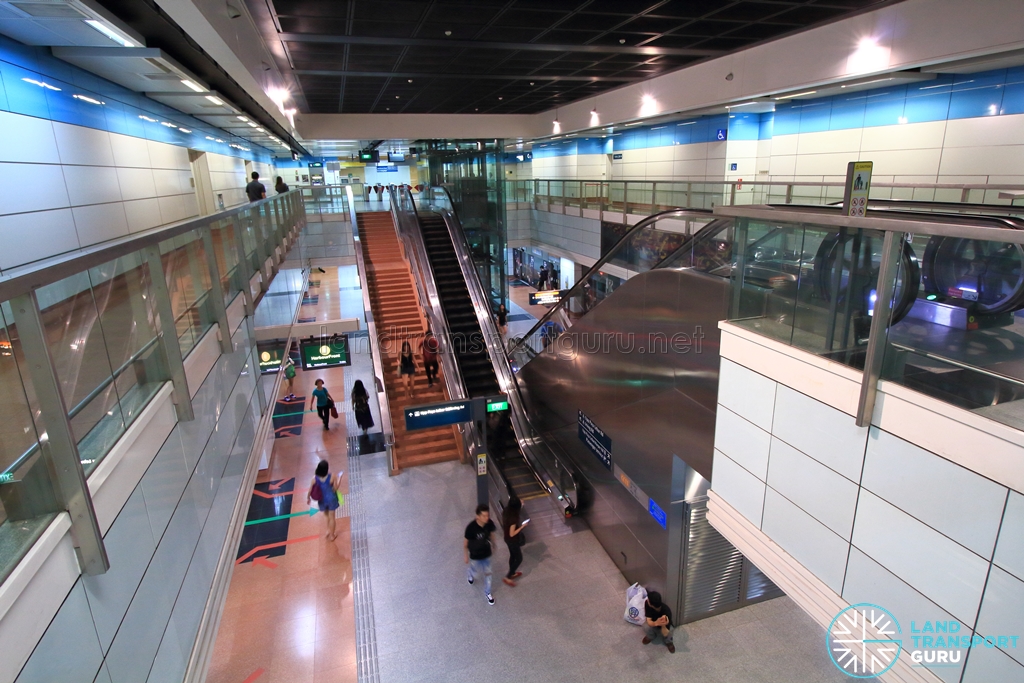
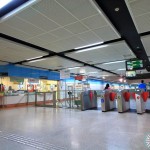
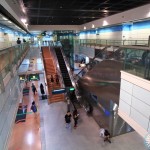
Station Layout
| L1 | Street level | Bus stops, Taxi stand, pick-up/drop-off point |
| B1 | Ticket Concourse | Faregates, Ticketing Service Kiosks, Passenger Service Centre |
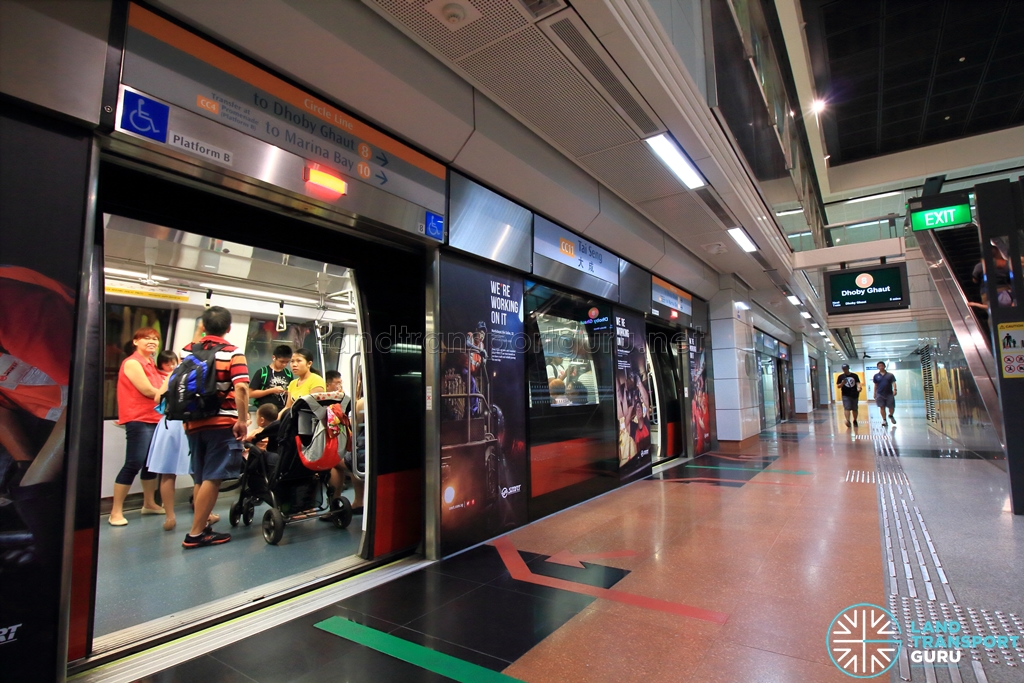
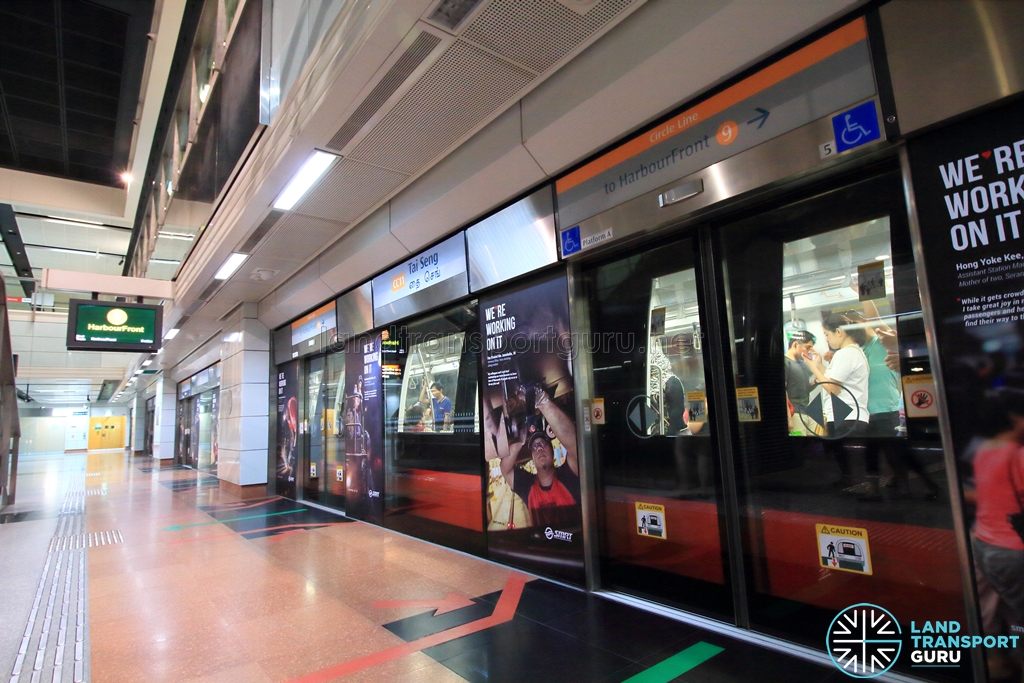
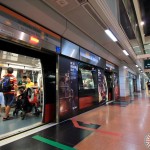
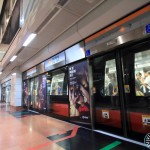
| B2 | Platform A | Circle Line (Anticlockwise ↺) via CC13NE12 Serangoon |
| Platform B | Circle Line (Clockwise ↻) via CC10DT26 MacPherson |
Platforms & Train Services:
| Platform A: Circle Line (Anticlockwise ↺) via CC12 Bartley & CC13NE12 Serangoon (→) Platform B: Circle Line (Clockwise ↻) via CC10DT26 MacPherson (←) |
Tai Seng station has two platforms in an island platform arrangement. Just north of Tai Seng station, a pair of reception tracks branch off to Kim Chuan Train Depot.
Refer to the Station Travel Information System (STIS) for the destination and service information of upcoming trains.
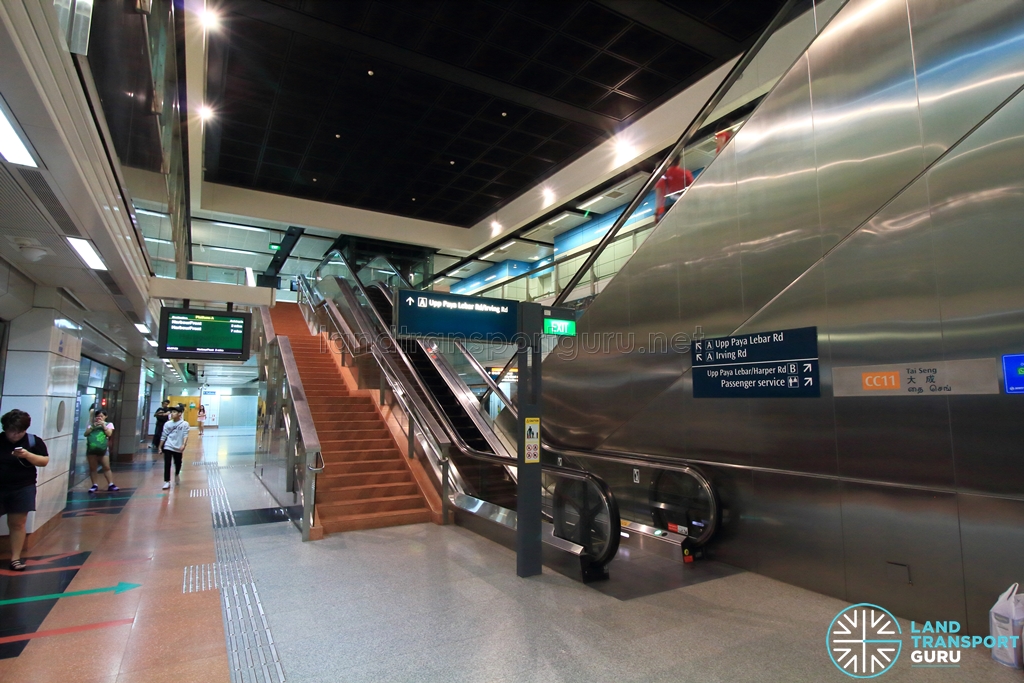
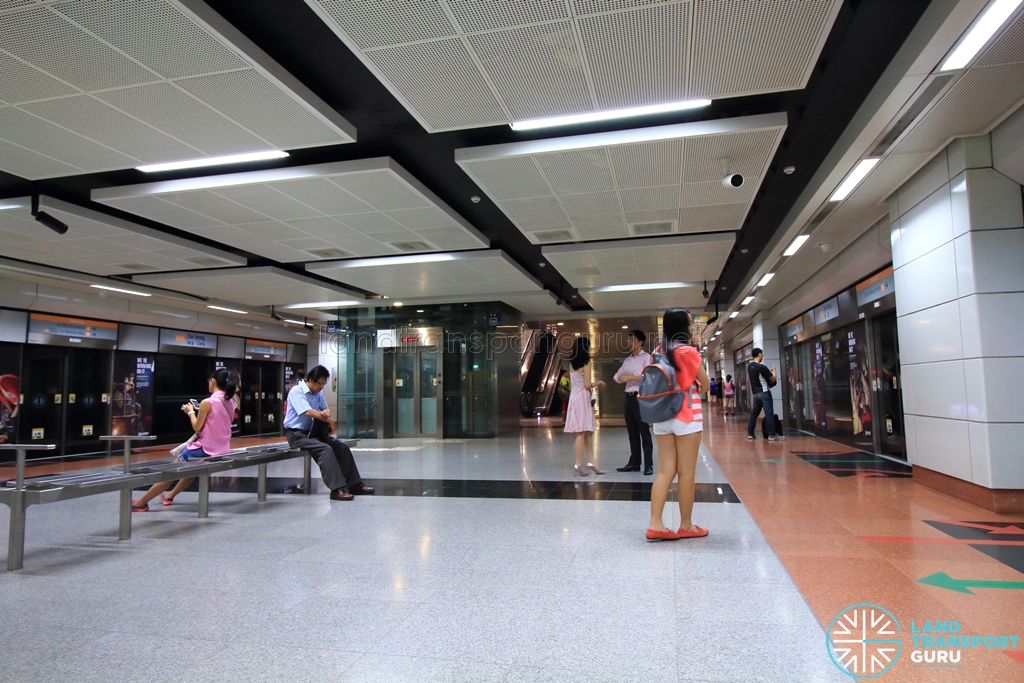
Concourse
The station concourse is located at Basement 1.
Station Amenities
- Public Toilets at concourse level (B1)
- ATMs at concourse level (B1)
- Bicycle racks at station exits
Exits
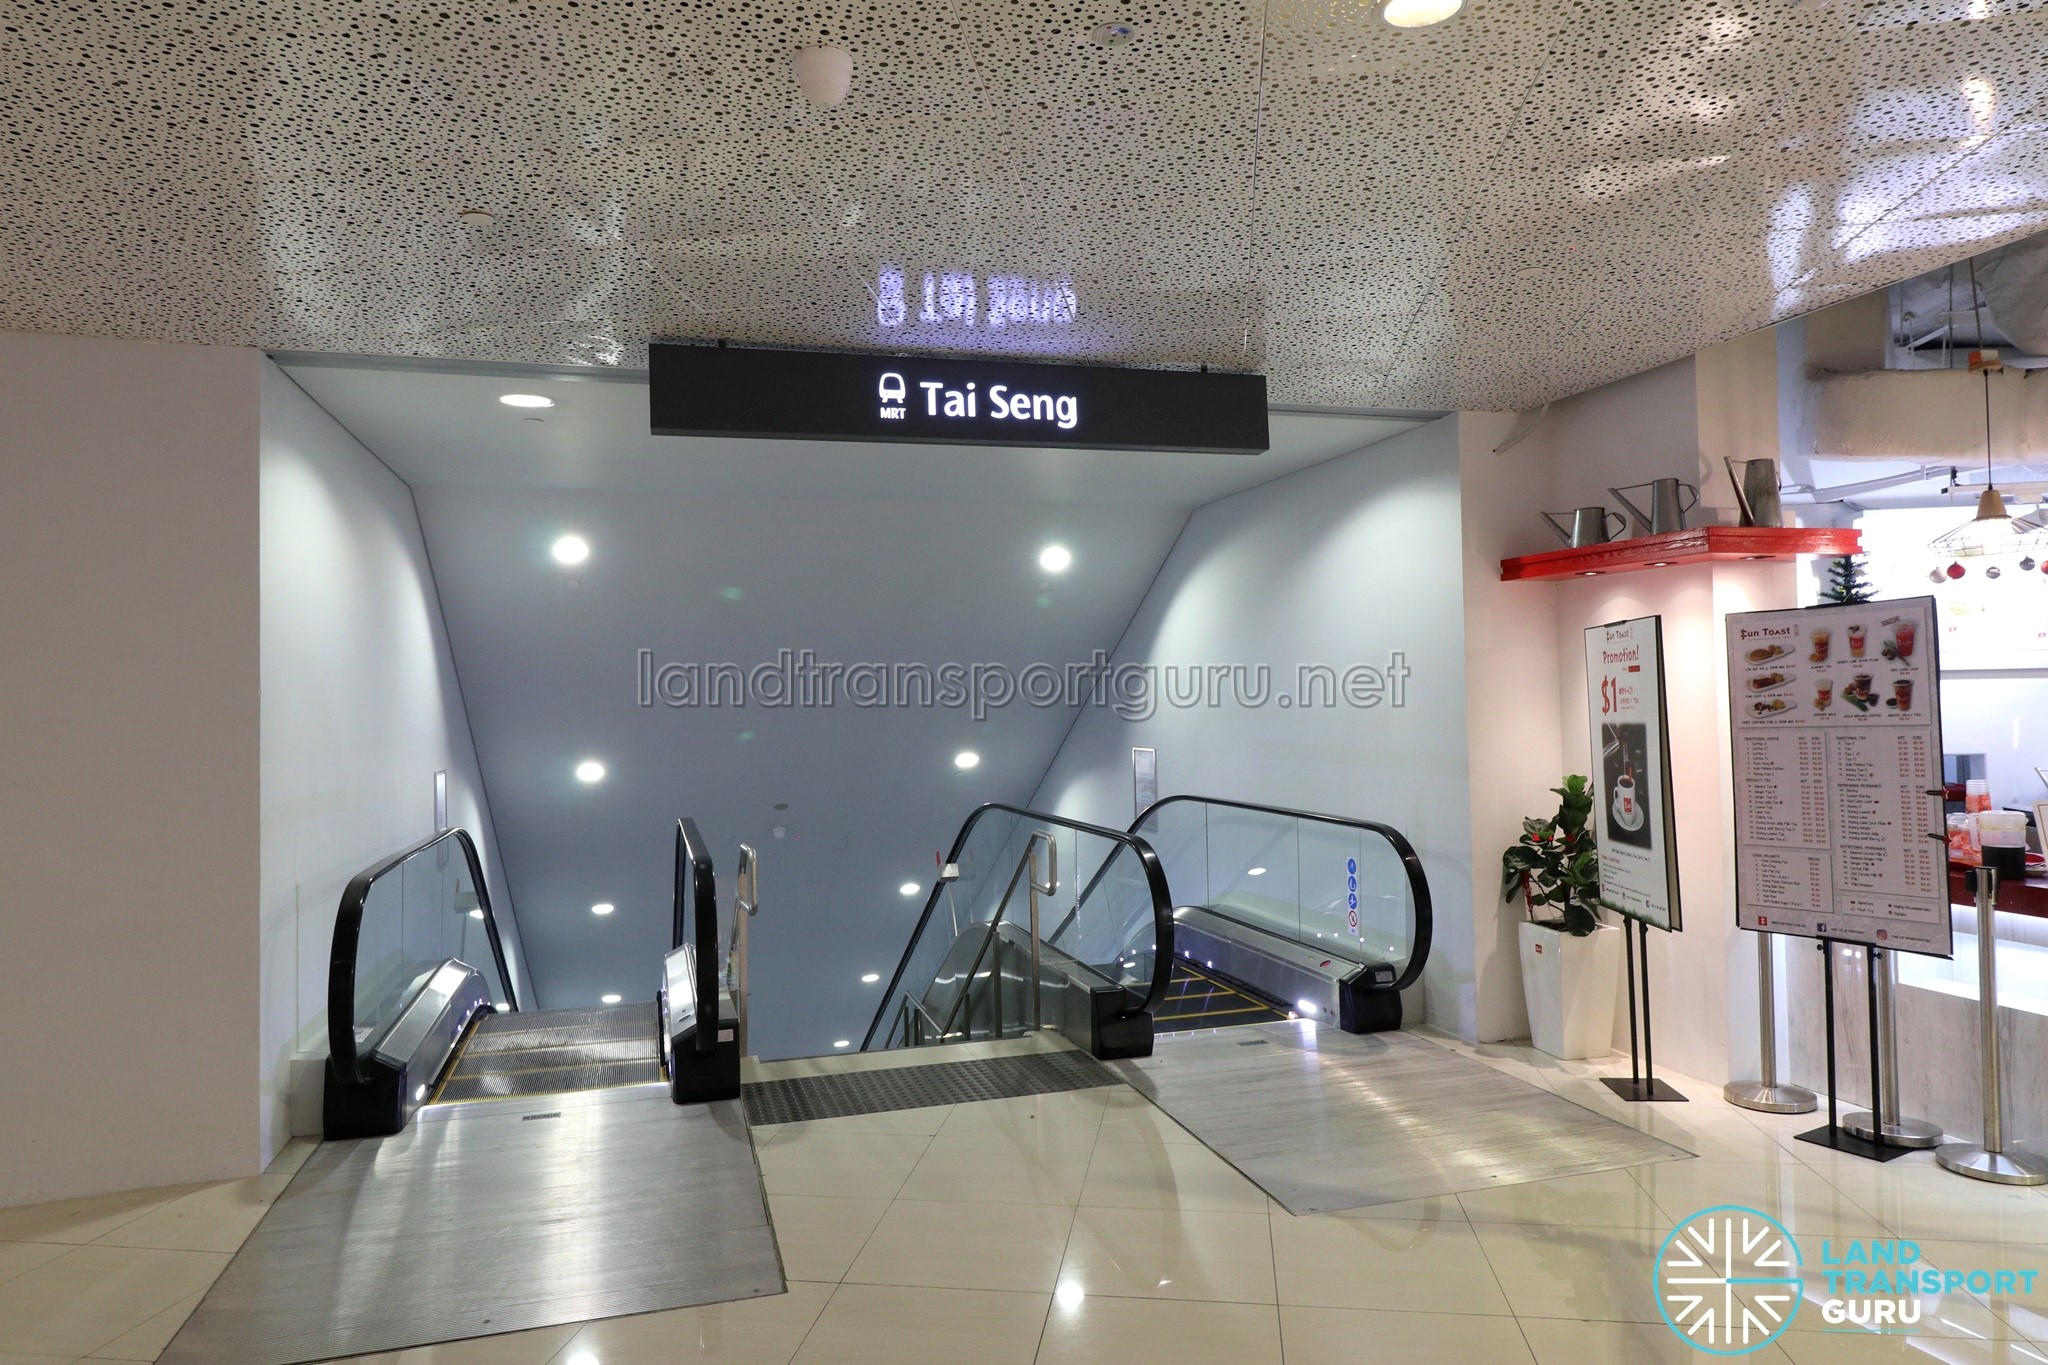

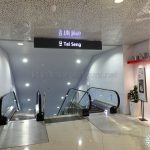
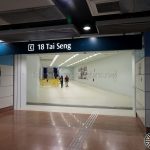
Tai Seng MRT station has two exits at ground level (A and B) and an underground Exit C to 18 Tai Seng, of which only Exit B does not offer barrier-free accessibility.
| Exit | Location | Nearby |
| A |
Upper Paya Lebar Road | Asiawide Industrial Building, D’Lithium, Irvine Industrial Building, Kapo Factory Building, Leong Huat Building, LHK 2 Building, Sulisam Building, Tai Seng Point, Tat Wan Building, The Commerze@Irving, Trivex |
| B | Harper Road | Paya Lebar Road/MacPherson Road/Airport Road, Singapore Civil Defence Force HQ, UB. One, Trinity @ Paya Lebar, TATA Communication, Citimax Industrial Complex, Sakae Building, Oxley Bizhub |
| C |
18 Tai Seng | 18 Tai Seng (Basement 1), Charles & Keith Group HQ, Jin Long Si Temple, Kim Chuan Depot (SMRT), Tai Seng Industrial Estate |
Transport Connections
Tai Seng station connects to several bus stops in the vicinity, as well as a taxi stand and passenger pick-up point.
Bus
There are two bus stops nearby to Tai Seng station.
| Bus Stop | Exit | Bus Routes |
| Aft Tai Seng Stn (70281) Upp Paya Lebar Rd |
A | 22, 24, 28, 43, 58, 58B, 62, 70, 70M, 76, 80, 93, 158, 457, 458, 459 |
| Aft Tai Seng Stn Exit C (70289) Upp Paya Lebar Rd |
C | 22, 24, 28, 43, 58, 58A, 62, 62A, 70, 70A, 70M, 76, 80, 80A, 93, 158, 457, 458, 459 |
Road
Pick-up/drop-off points are located next to station exits:
| Exit | Road | Provisions |
| A | Upper Paya Lebar Rd (Northbound) | Pick-up/drop-off point |
| B | Upper Paya Lebar Rd (Northbound) | Pick-up/drop-off point |
MRT Bus Bridging Service
In the event of a MRT service disruption affecting Tai Seng station, MRT Bridging Buses may be activated to ply affected stretches of the Circle Line. In which case, the buses can be boarded from the following bus stops:
| Towards | Bus Stop | Exit | |
| Circle Line (CCL Bridging Bus) |
|||
| Clockwise via CC10DT26 MacPherson |
Aft Tai Seng Stn Exit C (70289) Upp Paya Lebar Rd |
C | |
| Anticlockwise via CC13NE12 Serangoon |
Aft Tai Seng Stn (70281) Upp Paya Lebar Rd |
A | |
In addition, passengers can board free regular bus services at Bus Stops 70281 & 70289 when activated.
Passenger Usage Patterns
Serving largely industrial areas in the vicinity, Tai Seng station encounters high passenger demand during the peak periods and substantially less during off-peak periods.
Construction
Circle Line Stage 2 (CCL2) Contract 822 for the construction and completion of MacPherson and Tai Seng stations and associated tunnels was awarded to local and Sweedish companies Econ Corporation Ltd-NCC Joint Venture for S$338.6 million. The working name for Tai Seng station was Upper Paya Lebar Station.
Originally constructed with only two exits, underground Exit C connecting to the 18 Tai Seng retail centre was built by private developer Mapletree, as part of a land sale requirement set by JTC Corporation when Mapletree won the tender to develop 18 Tai Seng – a mixed-use development directly opposite the MRT station. The linkway was constructed using a pipe-jacking method to join the station via a knock-out panel. Work started in March 2015 and was completed in end-2017.
External Links & References
- —